Before I start writing anything in this post, I will say that the method I am going to explain comes from a blog post over at flaviopost. I did not like the very short explanation as a rookie on his site, so I’ll try to elaborate here.
What is the issue even to start with?
Well, you know if you have a website using a static site generator and you’re working on your own theme. For me, this static site generator is Hugo. And I have a theme that I’ve modified from another creator.
The theme is linked to my website as a submodule because it makes things easier and Hugo knows how to deal with that. But the issue is, every time I make changes to the theme, no new build is initiated on the host side. Which in this case happens to be Netflify.
So today’s objective is simple, make Netflify react to pushes in the submodule repository, such that I don’t have to start the build manually or push something to the main repository.
How do we do this?
We can start by looking at the Netlify API and GitHub actions. If you’re not using GitHub to store your repositories, I’m sure your provider allows for something similar.
Step one is to go to netflify. Then log in and go to the dashboard of the website in question.
In the menu pane to the left, you’ll find an options that says Site Configuration. Go there and then you’ll see a new menu appear. In the new menu, you go to Build & Deploy.
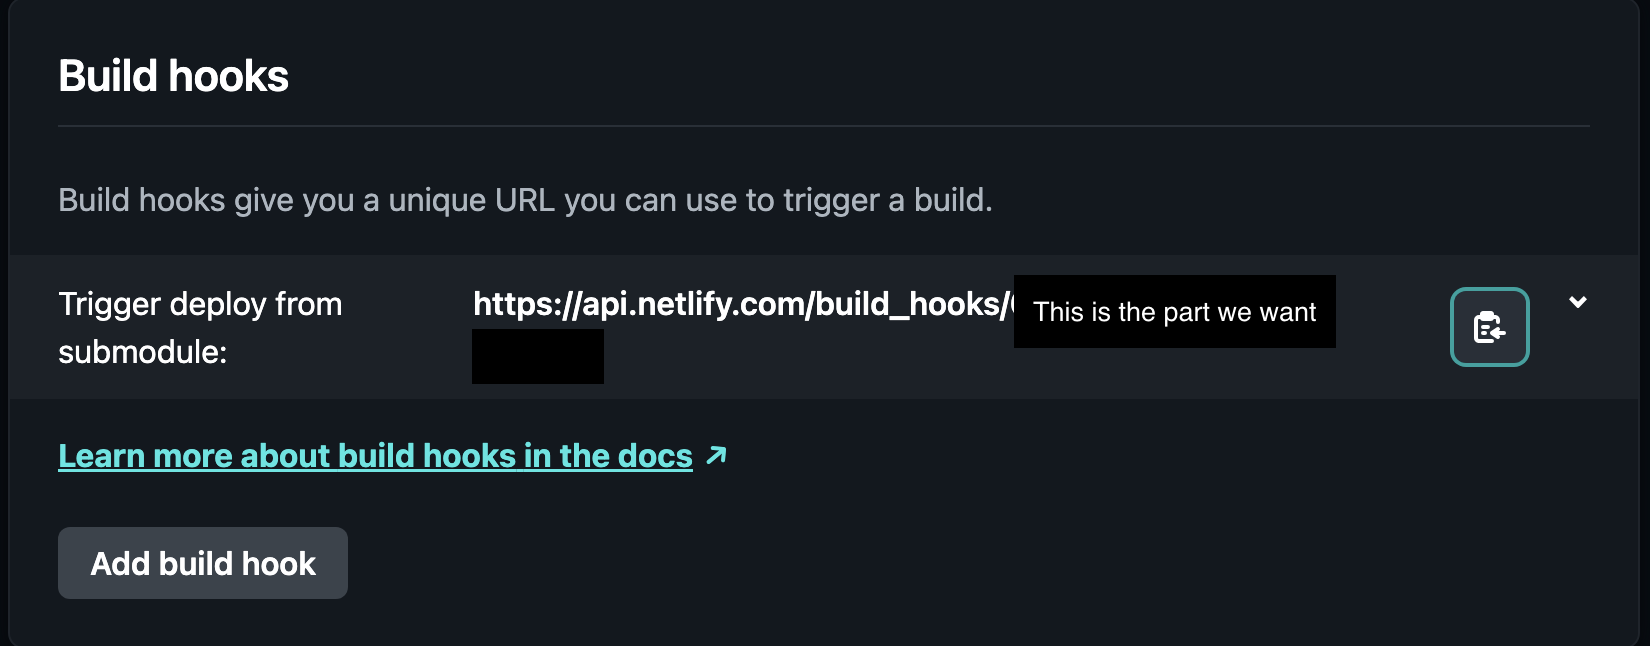
Scroll down the options until you see the headline Build hooks. Click the button to add a new build hook. Give it a name and select the branch from the git repository of the main module that you want to build when it is triggered.
Once created you will get an API URL next to the new of the new hook. The part after the last slash is what we care about.
Now that we have our build hook, we can go back to GitHub.
We need to create a new action and this has to take place in the repository of the submodule. So go to that repository and click on the Actions tab.
Once there you need to create a new workflow and don’t select one of the suggested ones, you need to click set up a workflow yourself.
You’ll then get taken to a page with a text editor which is currently empty. If you wanna rename the action, go ahead and do that at the top. I’ve called mine trigger_deploy.yml.
In the empty editor, you then copy the following
| |
What can be a little confusing here is the use of the environment variable UNIQUE_STRING. Not to worry, this is classified as a secret :)
Meaning, this is a variable that refers to some secret variable that only this repository has access to if the keyword UNIQUE_STRING is used. GitHub refers to these variables as secrets.
Once you’ve copied the above yaml and committed the changes to the file, it is time to define our secret.
To do this, you go to the settings of your submodule repository. In the menu on the left you go to the environment tab. Here you need to create a new environment. I’ve called my environment netlify.
Once you’ve created the new environment and named it, you’ll see the environment menu. You need to scroll down until you see the environment secrets headline. Then click on add secret. Name the secret NETLIFY_BUILD_HOOK_UNIQUE_STRING and in the value field you copy that last string of letters and digits you copied from the Netlify build hook URL.
And that’s it. Check that the deployment worked.